
Quick Start Guide - Rons WebLynx
This guide will help you get started with Rons WebLynx in just a few minutes. You'll create your first collection, import existing bookmarks, organize your resources, and learn how to quickly find information as your collection grows.
1. Create Your First Bookmark Collection
Rons WebLynx stores resources in collection files, allowing you to keep different sets of bookmarks, links, and research material separate.
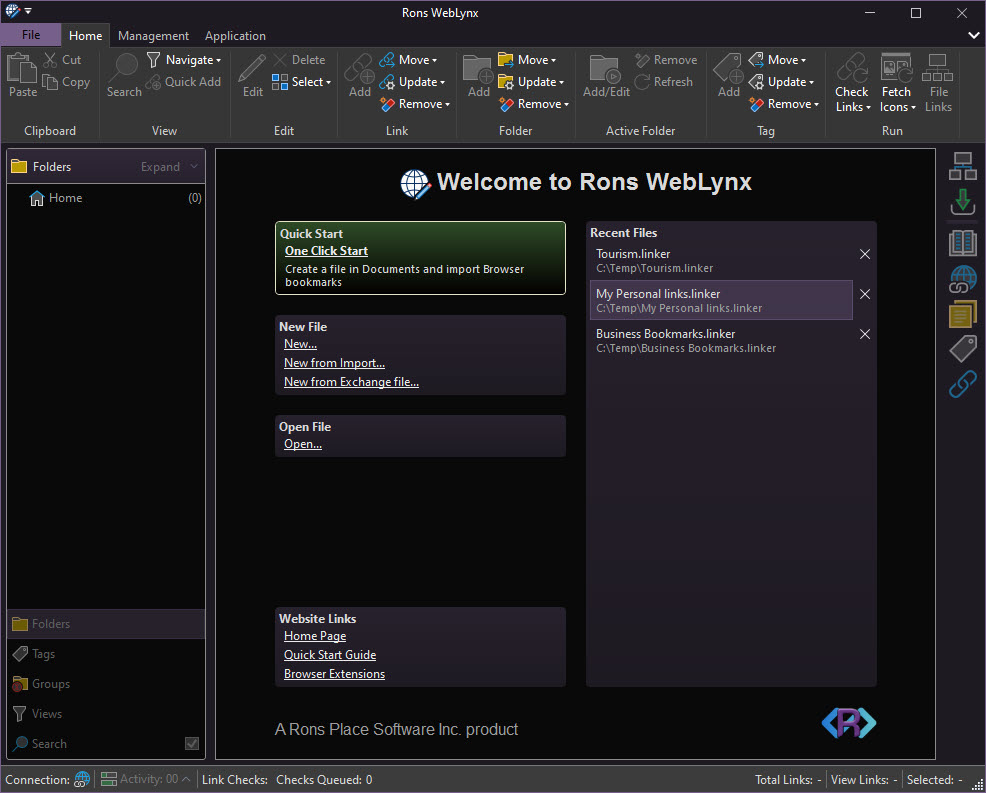
The fastest way to begin is from the Dashboard.
- Open Rons WebLynx.
- Click One-Click Start.
- A new collection file will be created and opened automatically.
You can create additional collection files later for different projects, clients, interests, or research topics.
2. Add Links and Resources
Rons WebLynx supports a variety of ways to collect information from the web and other sources, including:
- Web browsers
- Web pages
- Documents
- Outlook
- Local files and folders
- The clipboard
Import Browser Bookmarks into Rons WebLynx
If you already have bookmarks stored in your web browser, importing them into Rons WebLynx is often the best place to start.
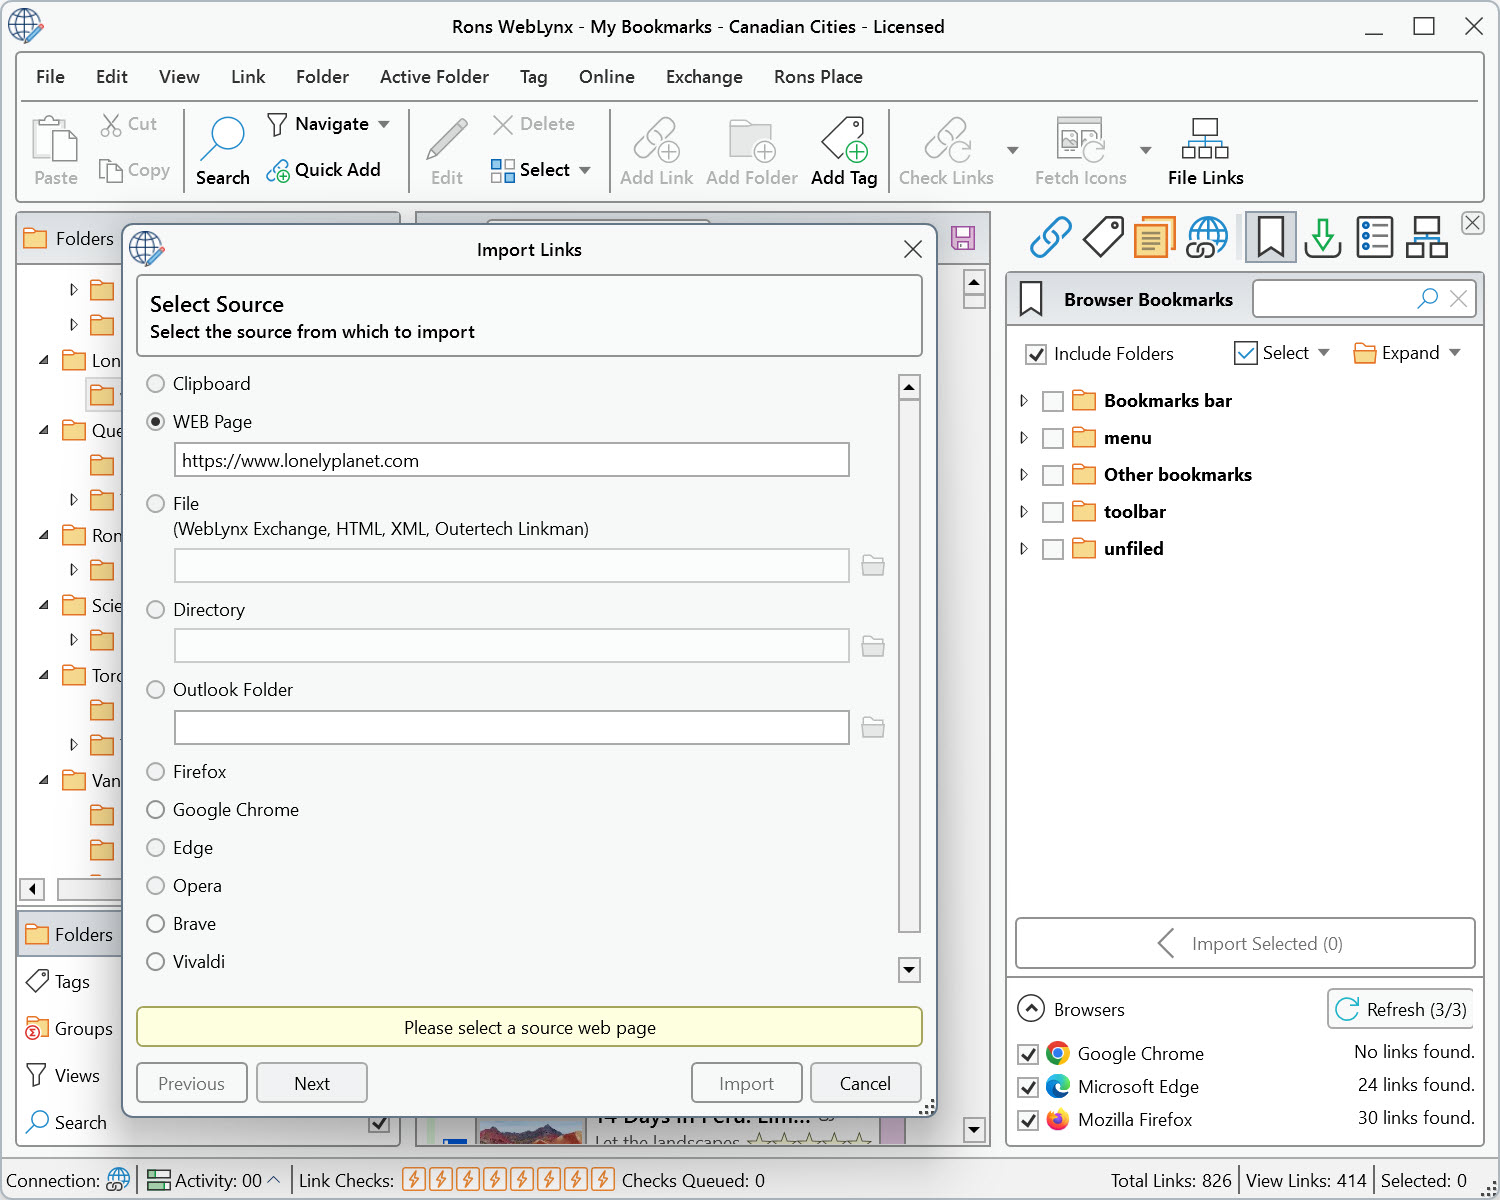
The External Bookmarks side panel allows you to browse bookmarks from supported browsers installed on your computer.
To import bookmarks:
- Open the External Bookmarks side panel.
- Select a browser.
- Browse the available bookmark folders.
- Import individual bookmarks or entire folders into your collection.
Add Individual Links
Quick Add
For individual websites, use Quick Add to create a new resource from a URL.
It opens the Quick Add area, where a link can be typed or pasted in, given a name, and then added to the collection.
Copy, Paste, and Drag Links into WebLynx
Another way to add resources is to select the folder or location where you want the links to be stored and then continue browsing the web as usual.
When you find a website you want to keep, or come across one or more links within a web page, simply copy the URL and paste it into the middle area where resources are listed. You can also drag and drop links directly into this area.
You are not limited to individual links. You can also copy larger sections of text containing one or more links and paste them into Rons WebLynx. The application will automatically extract the links and create resources for them, allowing multiple links to be collected in a single operation.
Import Resources
The Import Wizard allows resources to be imported from a variety of supported sources.
To open the Import Wizard, select Exchange > Import from the main menu.
The available import sources include:
- Clipboard
- Web Page
- File
- Directory
- Outlook Folder
- Firefox
- Google Chrome
- Microsoft Edge
- Opera
- Brave
- Vivaldi
After selecting a source, the Import Wizard guides you through choosing a destination folder, optionally assigning tags, and reviewing the resources before they are imported. A preview is provided so that any unwanted items can be excluded before the import is completed.
3. Organize Bookmarks and Resources with Folders, Tags, and Groups
WebLynx provides three complementary ways to organize information.
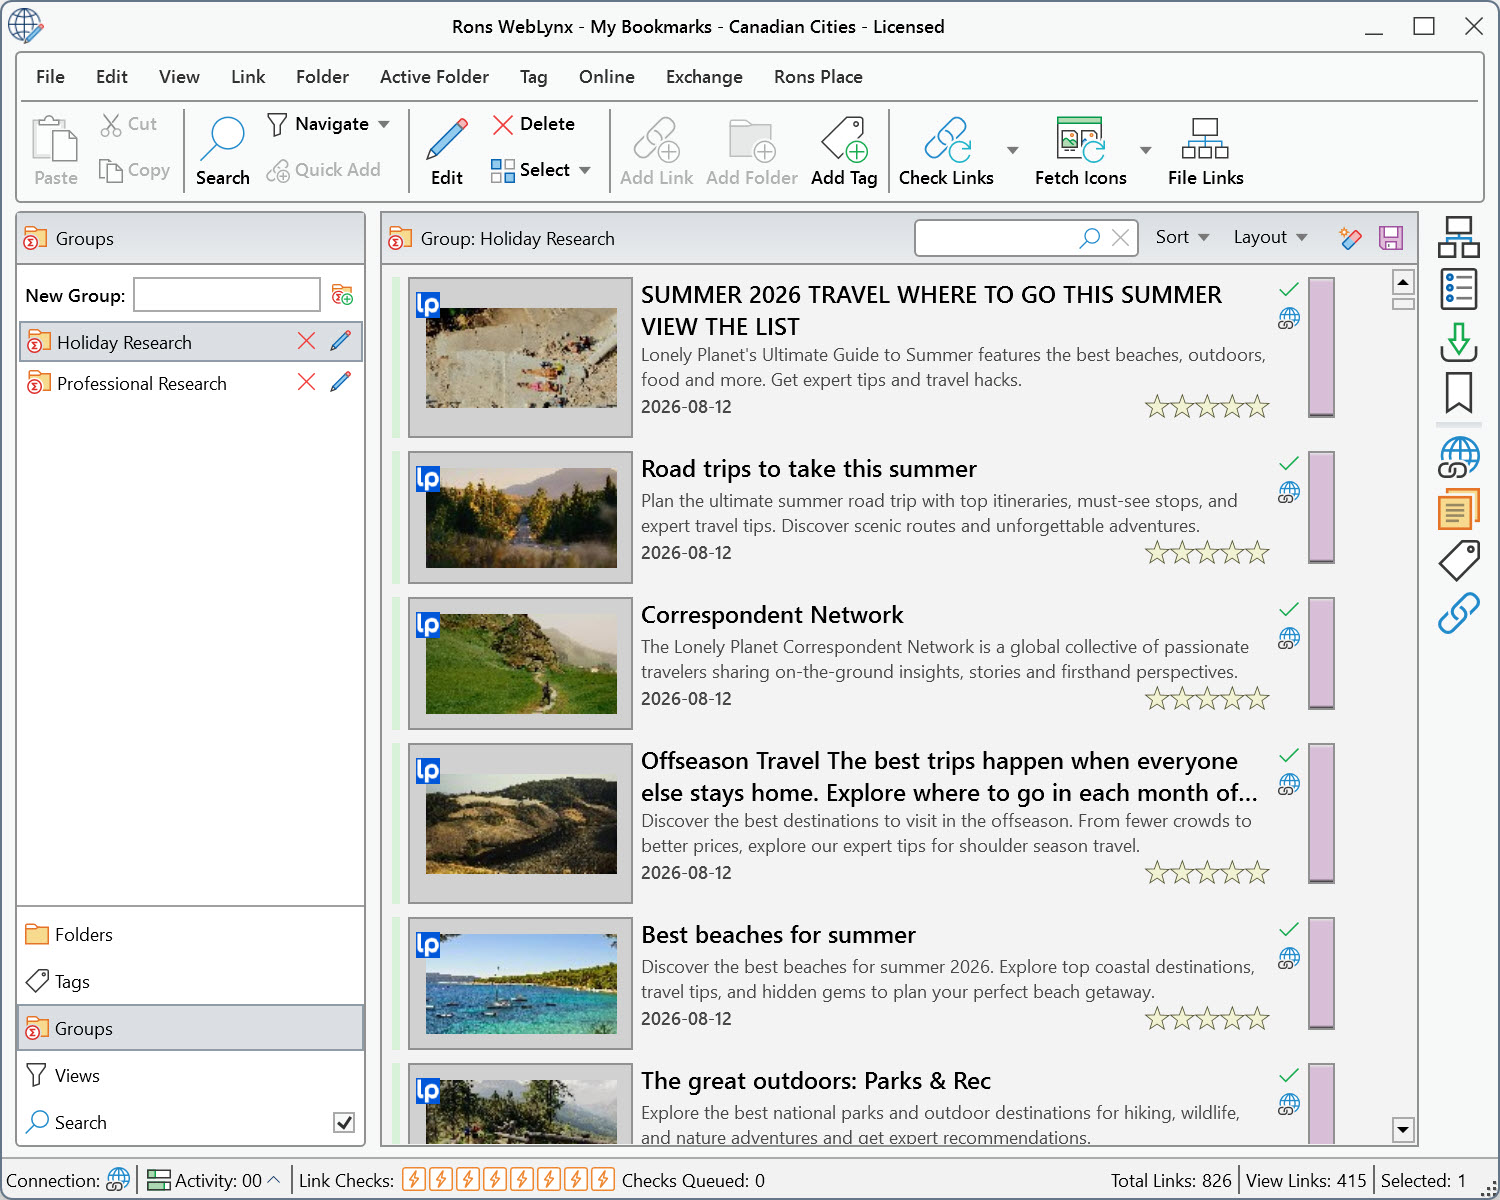
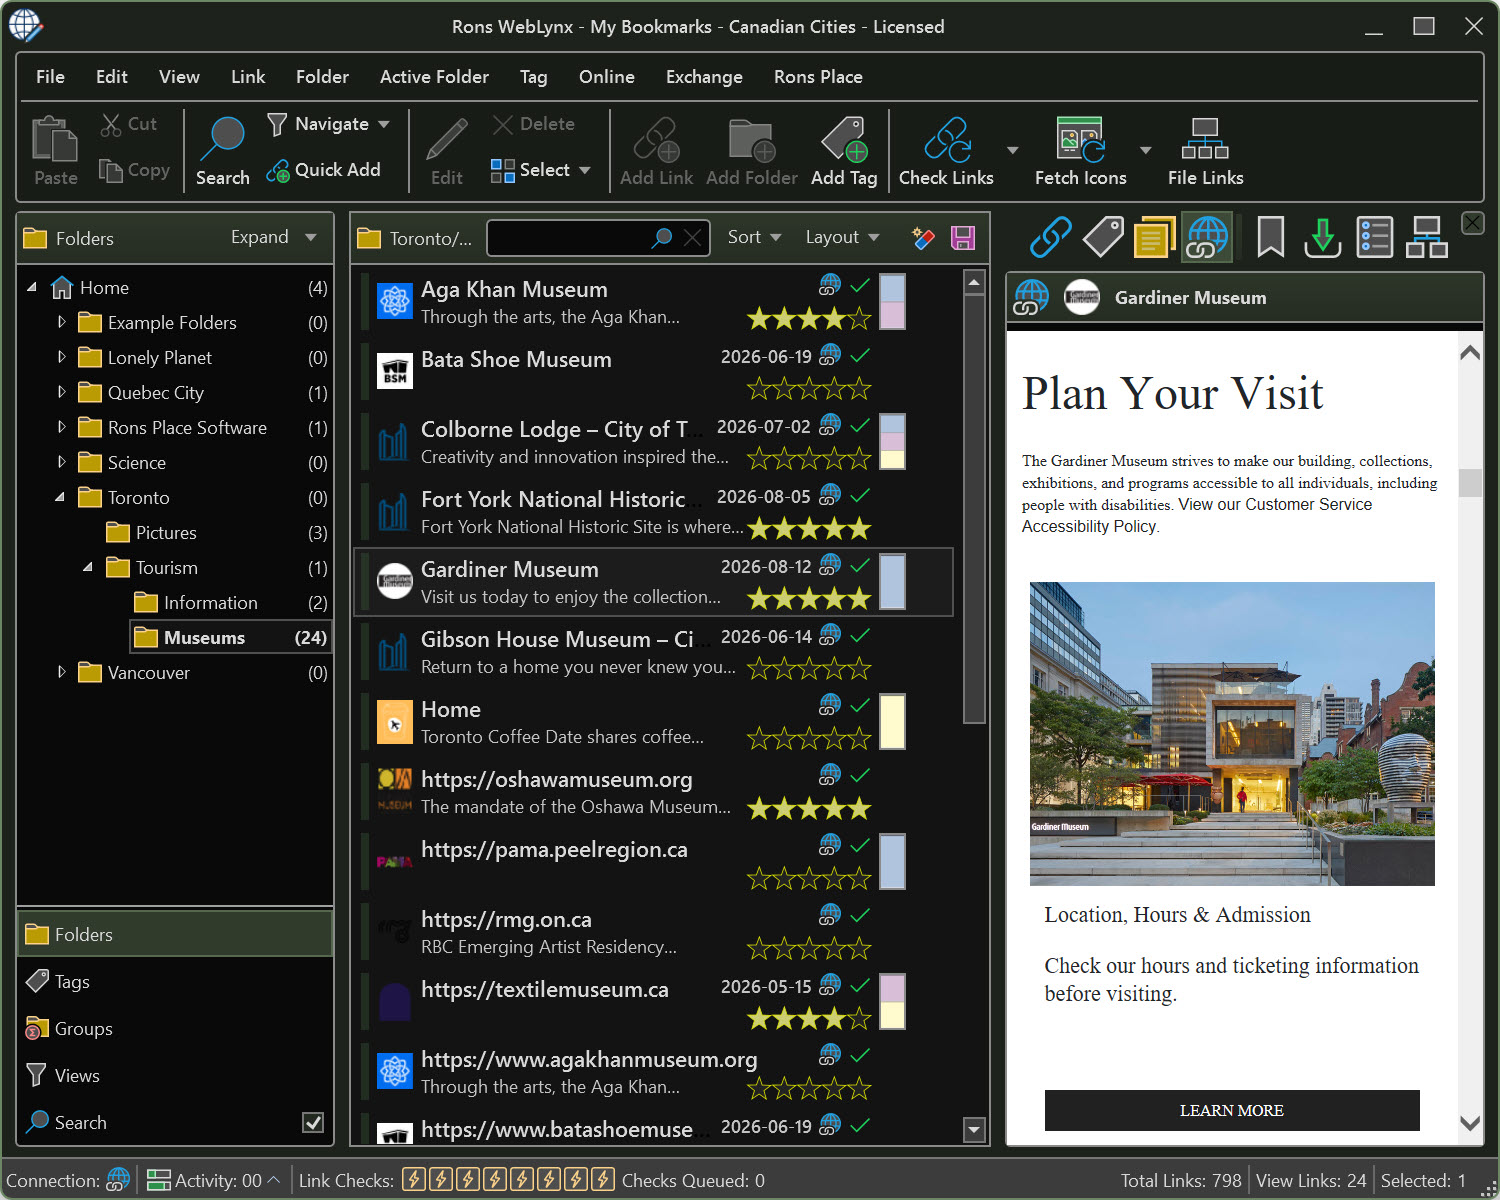
The Folders, Tags, and Groups areas are located in the navigation panel on the left side of the application. Selecting any of these areas displays their contents and management options, allowing you to create, view, and organize your collection.
Folders
Folders provide the main structure of your collection.
Examples:
- Work
- Projects
- Research
- News
- Personal
Tags
Tags allow a resource to belong to multiple categories without creating duplicate entries.
Examples:
- Important
- Read Later
- Reference
- Follow Up

Groups
Groups bring together related Folders and Tags into larger collections.
This allows project-related information to be viewed together, even when resources are stored in different locations within the collection.
4. Browse, Search, and Find Resources
As your collection grows, finding information becomes increasingly important.
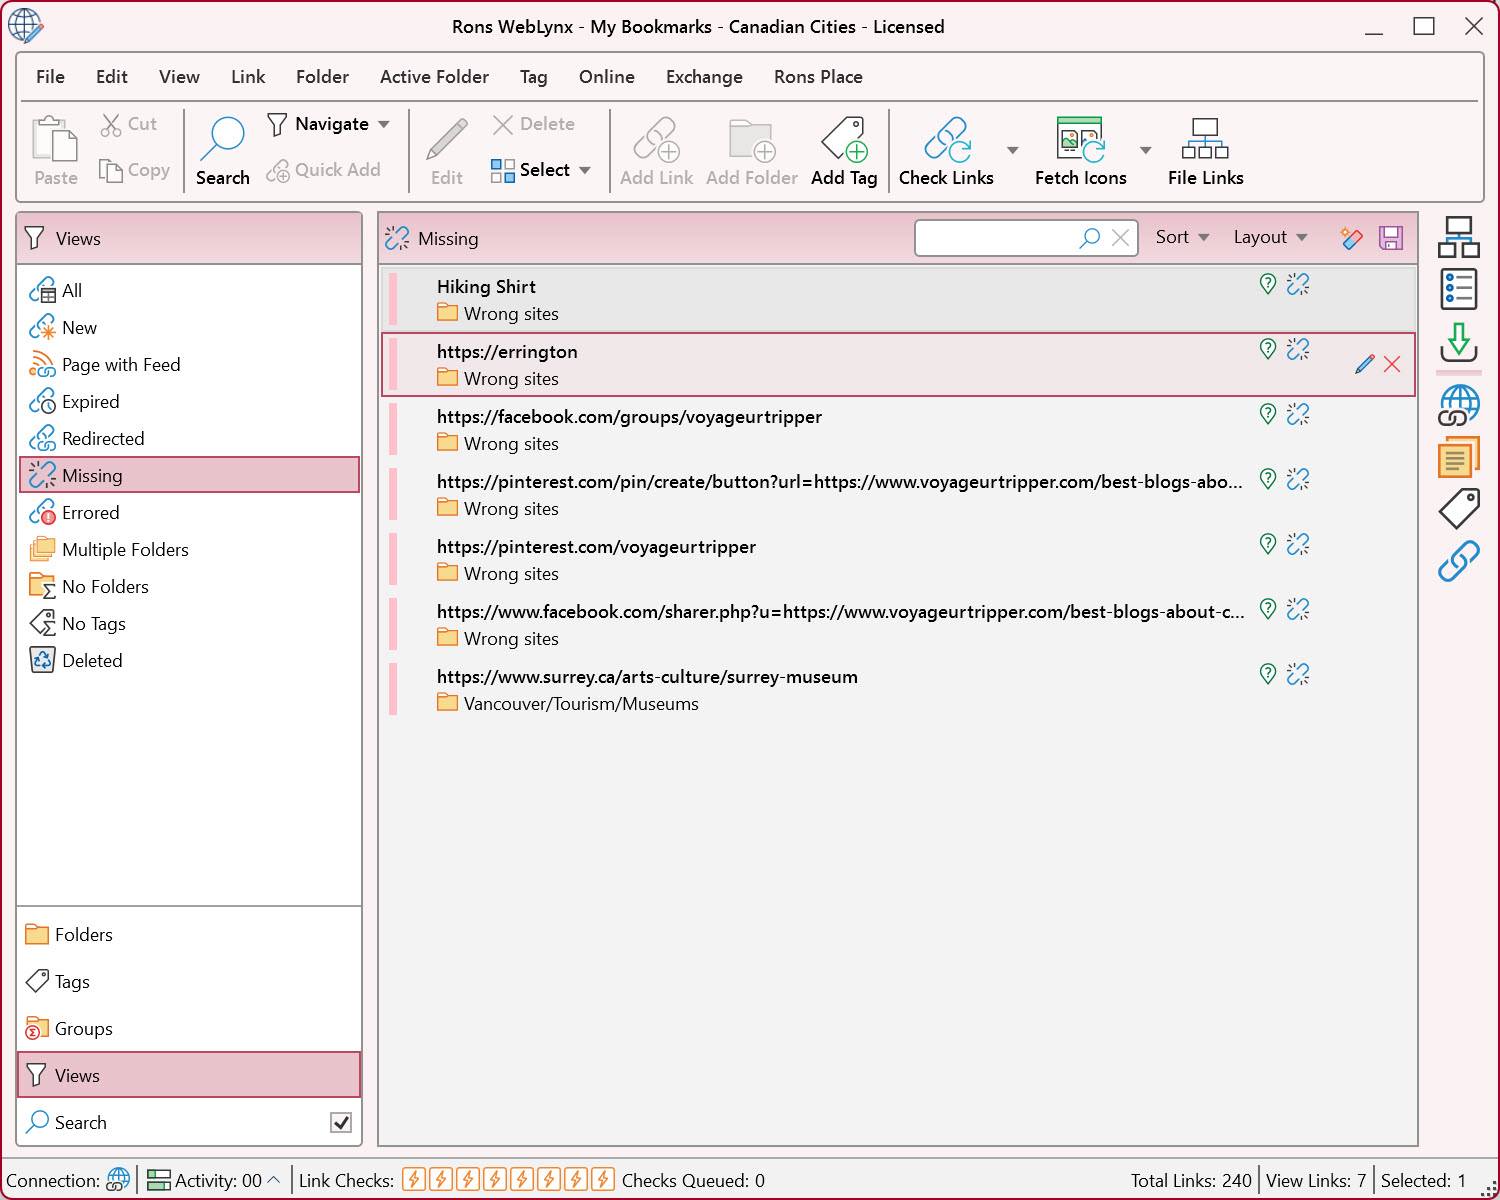
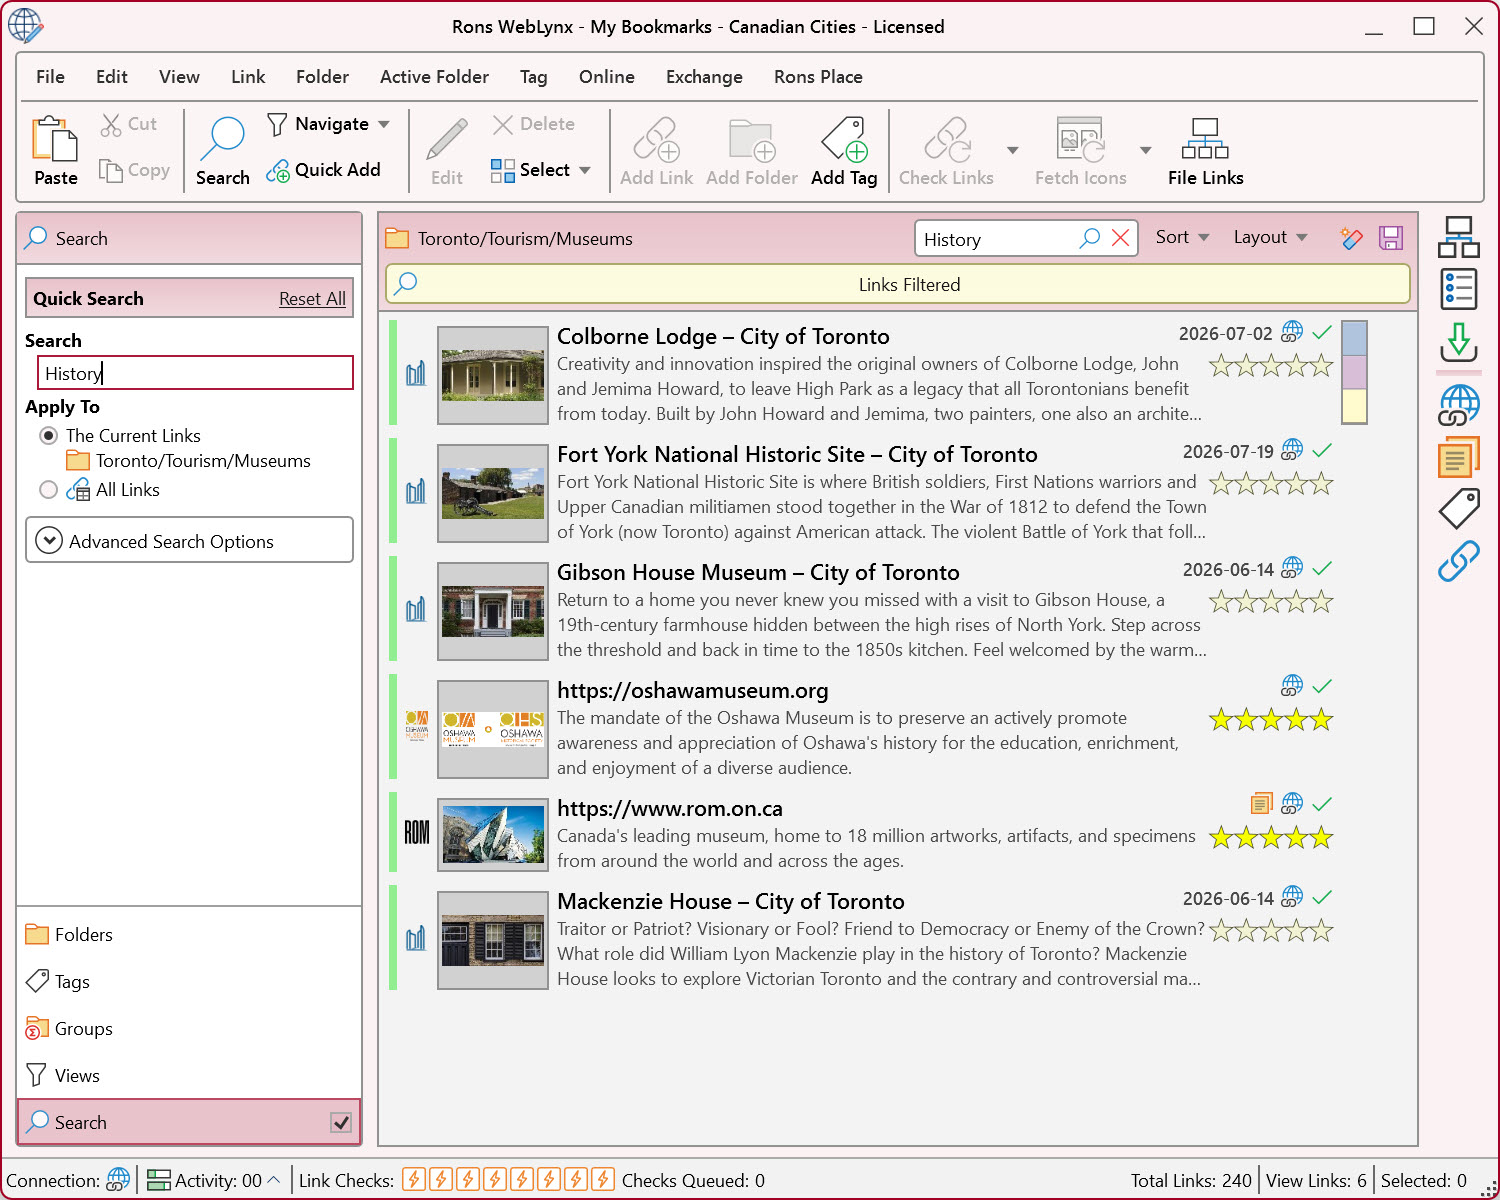
Below the Folders, Tags,and Groups areas in the navigation panel are Views and Search.
Views
Views provide different ways of looking at your collection without changing its organization.
They can be used to identify resources based on specific criteria, such as:
- Recently added resources
- Pages with RSS Feeds
- Duplicates
- Invalid links (Expired, missing, Errored, Re-directed)
- Multiple Folders
- No Folder
- Untagged
- Deleted
Views are particularly useful for maintaining and cleaning up larger collections.
Search
The Search area allows resources to be located using a wide range of properties.
Resources can be found using:
- Keywords
- Folder locations
- Tags
- Ratings
Search results can also be filtered to help narrow down large result sets and locate exactly what you are looking for.
Together, Views and Search make it possible to manage and navigate collections containing hundreds or even thousands of resources.
5. Access Resources with Quick Links and the Tray Icon
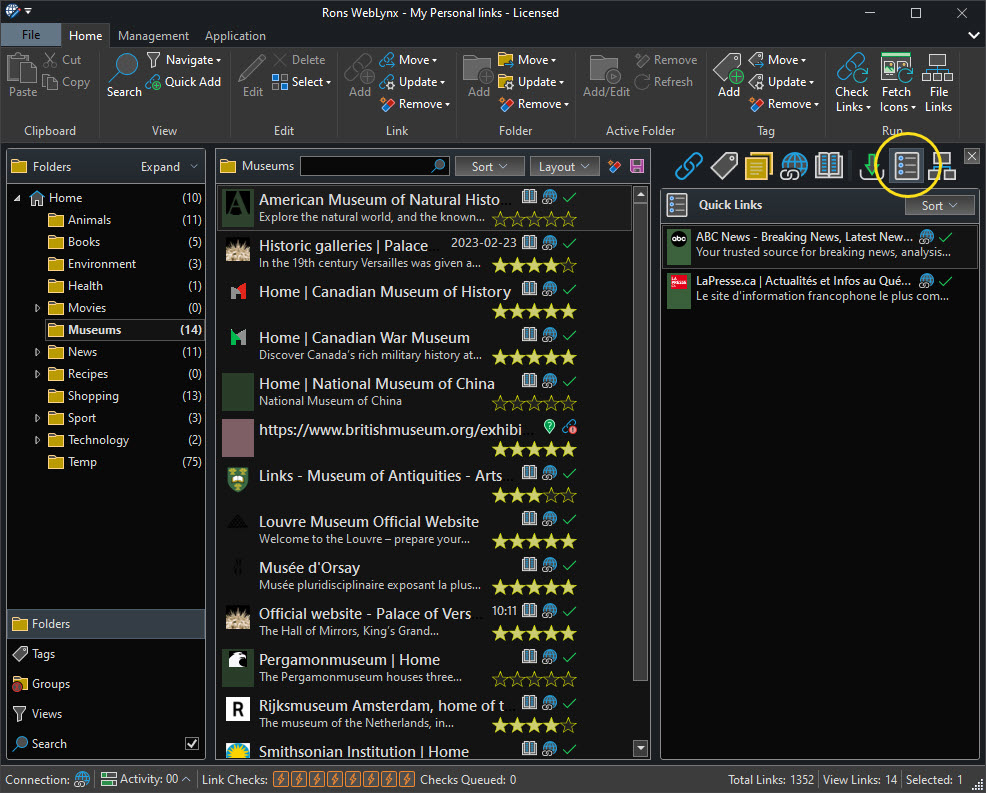
The Quick Links side panel provides convenient access to your most frequently used resources.
Simply drag your favourite websites, documents, and other resources into Quick Links to create a personal collection of shortcuts.
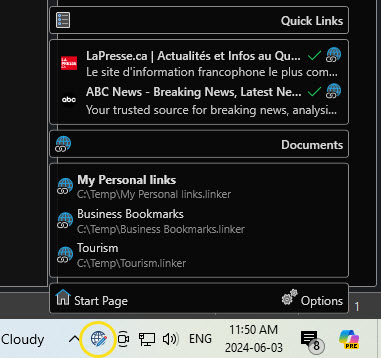
To make these shortcuts available directly from the Windows taskbar, you can enable the Rons WebLynx Tray Icon.
To set it up:
- Open File > Options.
- Open the Startup settings.
- Enable Start with Windows.
- Enable Use Tray Icon.
- Restart WebLynx.
You should also ensure that the Rons WebLynx Tray Icon is enabled in the Windows taskbar settings:
- Open Windows Personalization Settings.
- Navigate to the Taskbar notification area settings.
- Ensure that the Rons WebLynx tray icon is visible and activated.
Once configured, the Quick Links you have added in WebLynx will also be available from the tray icon, allowing frequently used resources to be opened directly from the Windows taskbar.
6. Explore More Features as Your Collection Grows
Once you are comfortable with the basics, explore some of the more advanced features available in WebLynx:
- Link Information
- Notes and descriptions
- Links Sorting and Layout
- RSS and Atom feeds
- Duplicate detection
- The Landing Zone (a temporary area for collecting and moving links between WebLynx files)
- Automatic Link Filing (for automatically organizing new links using rules)
Many users start with imported bookmarks and a simple folder structure, then gradually introduce tags, groups, RSS feeds, and automation as their collections expand.
What's Next?
As you become more familiar with the application, additional articles in the documentation can help you explore topics such as:
- Importing and exporting resources
- Organizing and maintaining large collections
- Automatic Link Filing
- RSS feeds and Active Folders
- Duplicate detection
- Research workflows
- Importing links from documents and other applications
Start simple and expand your collection as your needs evolve.
If you have questions about using Rons WebLynx or suggestions for additional documentation, please feel free to Contact Us. We are always interested in feedback and helping users get the most from the application.
Related Information
Rons WebLynx
Application
General


