Get Started!
This Quick Start section is meant for those who wish to get started in a few seconds. A good option when using Rons WebLynx for the first time.
1. Create a New File
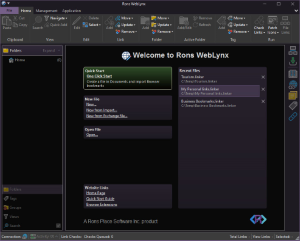
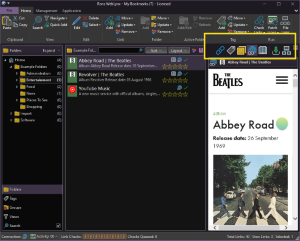
Rons WebLynx is file-based so let's start by creating a new file from the Rons WebLynx Dashboard. Click on One-Click Start. A new file named "My Bookmarks" opens immediately. This file is saved in your "Documents" folder.
2. Create Folders
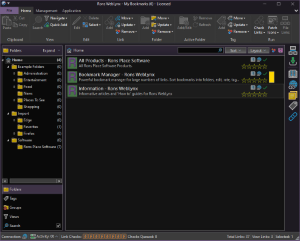
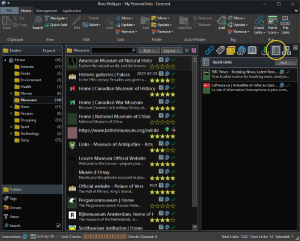
Under the familiar tree-structure Folder section on the left, create your first folders and sub-folders. You can also use the ones that we have created for you, or remove or rename them as you wish. For now, we added a few links under the Home folder about Rons WebLynx which we thought might be useful to you. We also created some Example Folders for all the links that you might use regularly ('Frequent', 'Administration', 'Work', 'Leisure', 'News' etc.). We created a folder called Import, where we automatically imported any links or favorites that you have saved in your browsers. Finally, we created a Software folder with links to the information pages of other software applications developed by us, Rons Place Software, as we would not want to miss this opportunity to allow you to discover our wonderful products 😉.
3. Create Tags
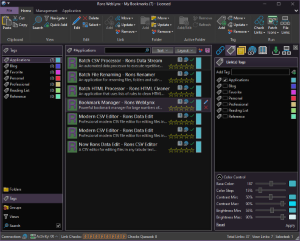
Under the Tag section on the left, create your first tags. For example, create tags for all the links that you want to quickly highlight ('Important', 'Read later' etc.).
4. Add Links
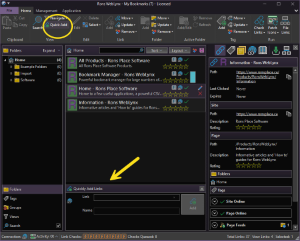
Use Quick Add from the menu to open the Quick Add section and type in URL's you would like to add. You can also drag and drop some links from a browser page onto a tag, folder or the central area. There are more ways to import links or even complete websites, but we won't go into further details in this article. See the Getting Links into WebLynx in your open File chapter in the Overview of Rons WebLynx article for more information.
Make sure to download the Rons WebLynx Browser Extension from our website if you would like to be able to add links to WebLynx directly while you are browsing the internet.
The next time you will open Rons WebLynx, you will find the added links in the Landing Zone side panel. From there, you will be able to tag and move them to folders manually or let them be filed and tagged automatically using the Automatic Filing.
5. Check the Side Panels
Now that you have a few links available, select one of them and discover the side
panels sections that are located on the right. Hover over them to see their
names, click on them to open them starting probably with Link Page
(Browser view) and Link Content (Reading view).
Don't
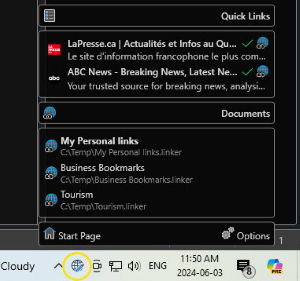
forget to have a look at the Quick Links side panel, which, when
dragging your favorite bookmarks to that section, allows to display them in the
WebLynx Tray on the task bar.
That way, you don't need to WebLynx to be open to have constant quick access to them. Recent Files are also automatically displayed in the tray.
You can now explore all the options available. We do advise ultimately to read our Overview of Rons WebLynx guide and other articles so that you can make the most of your bookmarks and Rons WebLynx and don't miss out on any interesting features (Automatic Link Filing, Landing Zone, Browser Extension etc.).
Related Information
Rons WebLynx
